If you are running the Cases object or another custom object that results in the need to book appointments, it can be a great idea to create a field that can be used to automatically show the appointment in your calendar.
Here is an example of how to use this functionality.
Scenario:
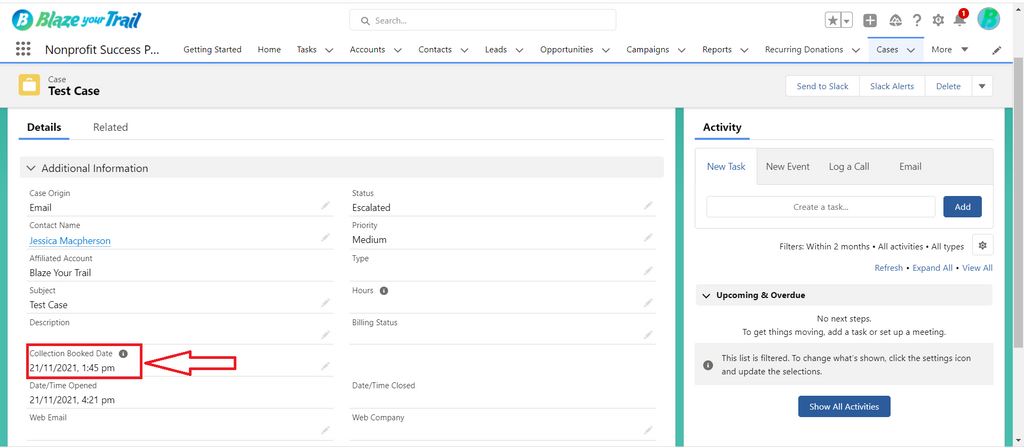
Blaze Your Trail has a field for 'Collection Booked Date' on their case object because they need to book the Primary Contact in to come and collect items. The Blaze Team want to see what appointments are planned in the coming days and weeks and they don't want to rely on a list view. They also want to see how the appointments are going to fit in with the other meetings and bookings they have throughout the week.
Solution:
Create a custom calendar based on the 'Collection Booked Date' field on the case object.
Step 1
Ensure you have an appropriate field to feed into the calendar. This field is a 'Date/Time' custom field.
Step 2
Navigate to the Calendar.

Step 3
Create a 'New Calendar' by clicking the cog on the right hand side of your page view.

Step 4
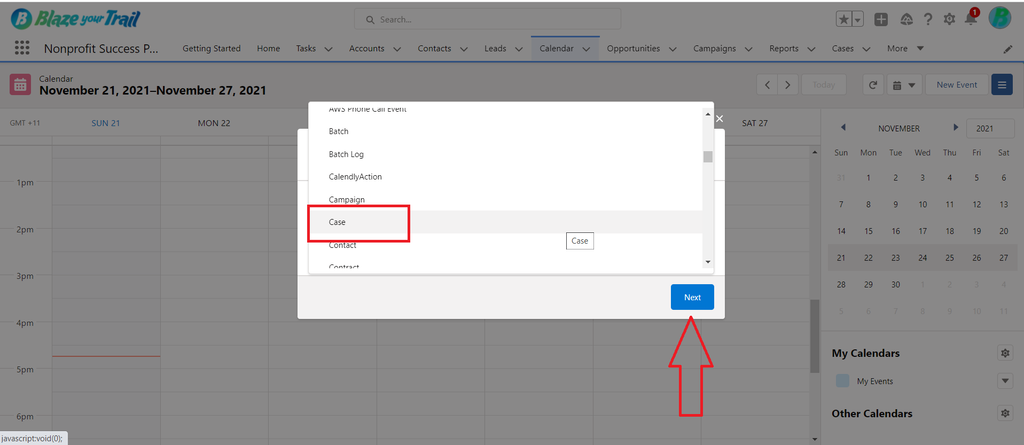
Select the object that your calendar will be created from - in this scenario we choose the Case object.
Step 5
Select the options to create your calendar. Give the calendar a meaningful name - for Blaze, the team has chosen Collection Bookings.
You need to select the field for start that will populate the date and time - this is the Collection Booked Date field. Then select any relevant filters to ensure you show only the relevant appointments on your calendar. You may only want to see appointments where the case has progressed to a certain stage, for example. In our scenario, we are selecting 'All open cases'. You can leave the field for end selection blank - it isn't required. Last, choose the field you want displayed. You can choose the case number, primary contact, or primary affiliation as examples. Then click 'Save'.

Step 6
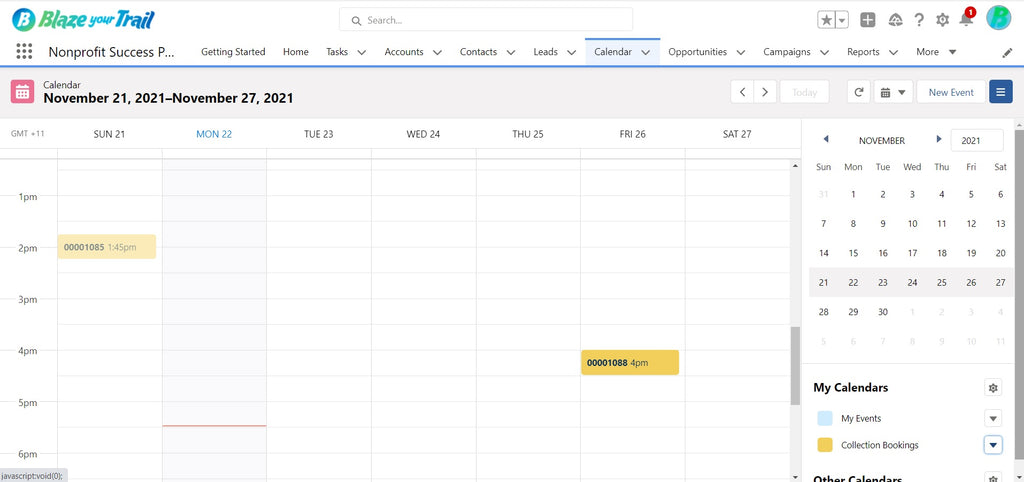
This is now your calendar view. Here you will see the field name you chose to display. You can toggle the colour of the calendar on the right hand side if you end up with multiple calendars on here and you are unhappy with the automatic colour selection.
Step 7
If you want to see more details of the event in showing in your calendar, simply hover over it. You can also choose then to click 'more details' which will take you directly through to the case so you can view everything.

We hope you found this helpful!


